
Designing the Mercury macropad
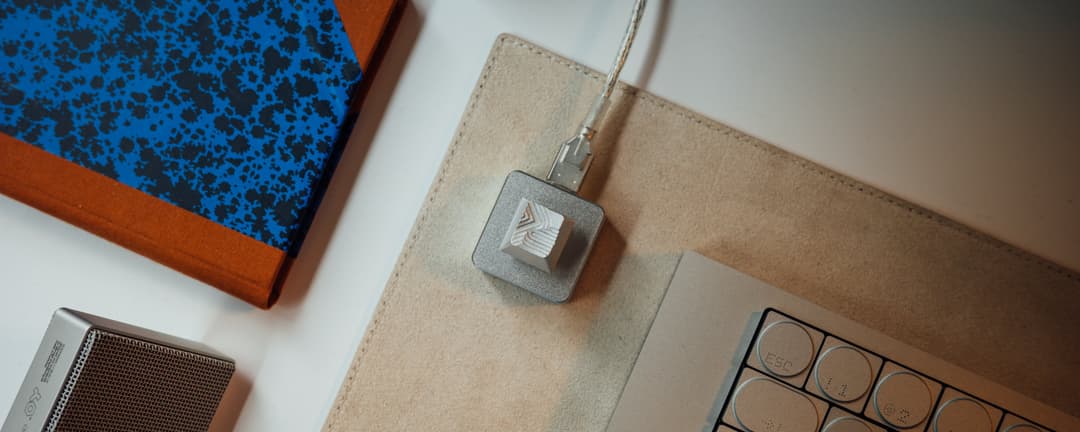
Last week we launched Mercury Command, our new AI tool built directly into Mercury that helps customers complete financial work end-to-end. As part of the launch, we decided to create an exclusive Mercury Command macropad. It sold out in minutes — making it one of the most popular merch projects we’ve ever made.
This is the story of how it came to be: a custom keycap machined from solid metal, paired with a macropad built to match it.
Finding a maker
Back in May, as we were formulating launch plans, the team knew we wanted to do something special. Out of a brainstorm came the idea: a bespoke keycap and custom macropad that could invoke Mercury Command. (⌘ + / works with any keyboard, btw.)
As the details took shape, I was brought in. The team and I needed to find a collaborator who could pull this off on a tight timeline, and one name kept surfacing: Tim Van Damme (aka @maxvoltar). Tim’s studio, MVKB, makes some of the most beautiful keyboard accessories on the market — his investment in the culture, community, and craft of the work is unmatched.
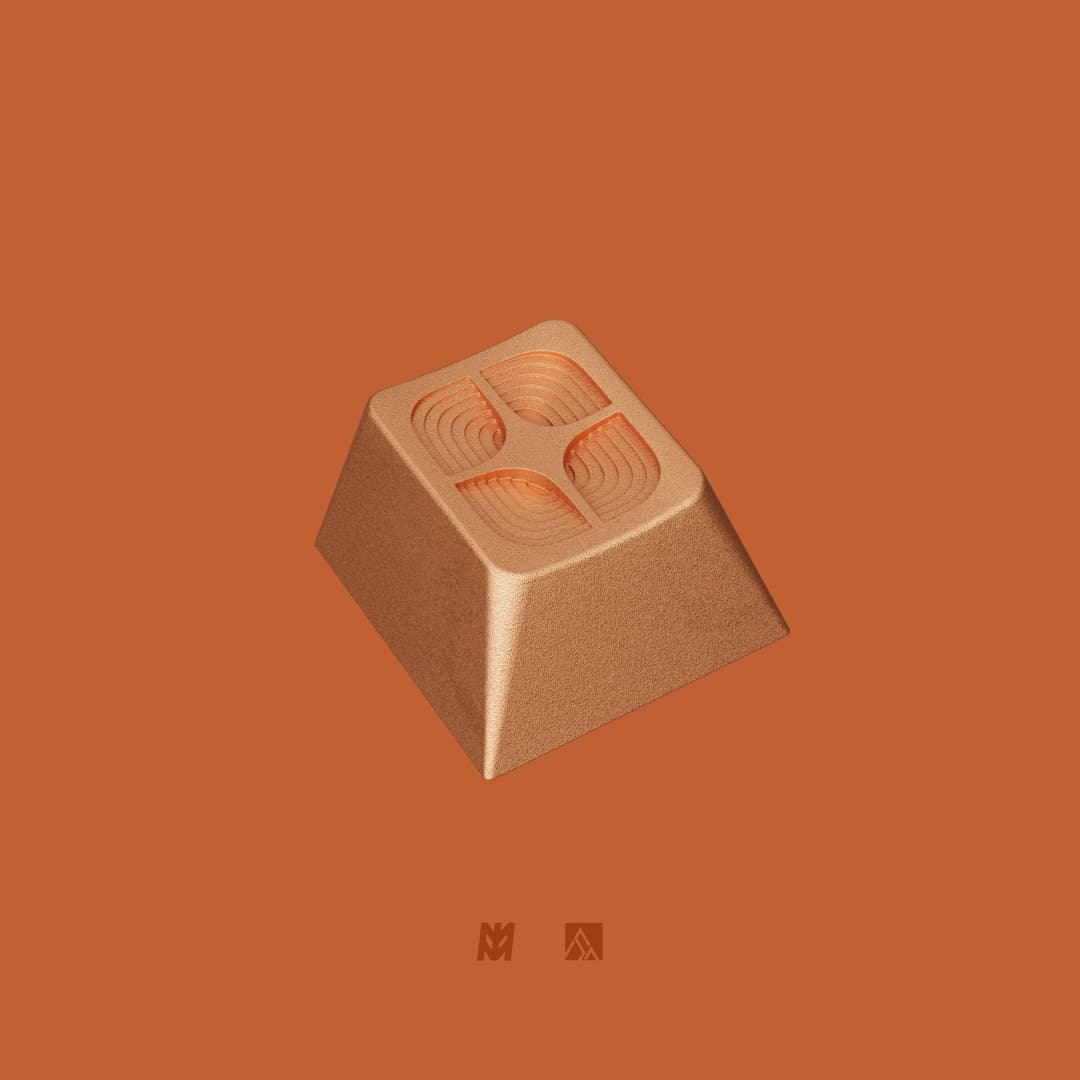
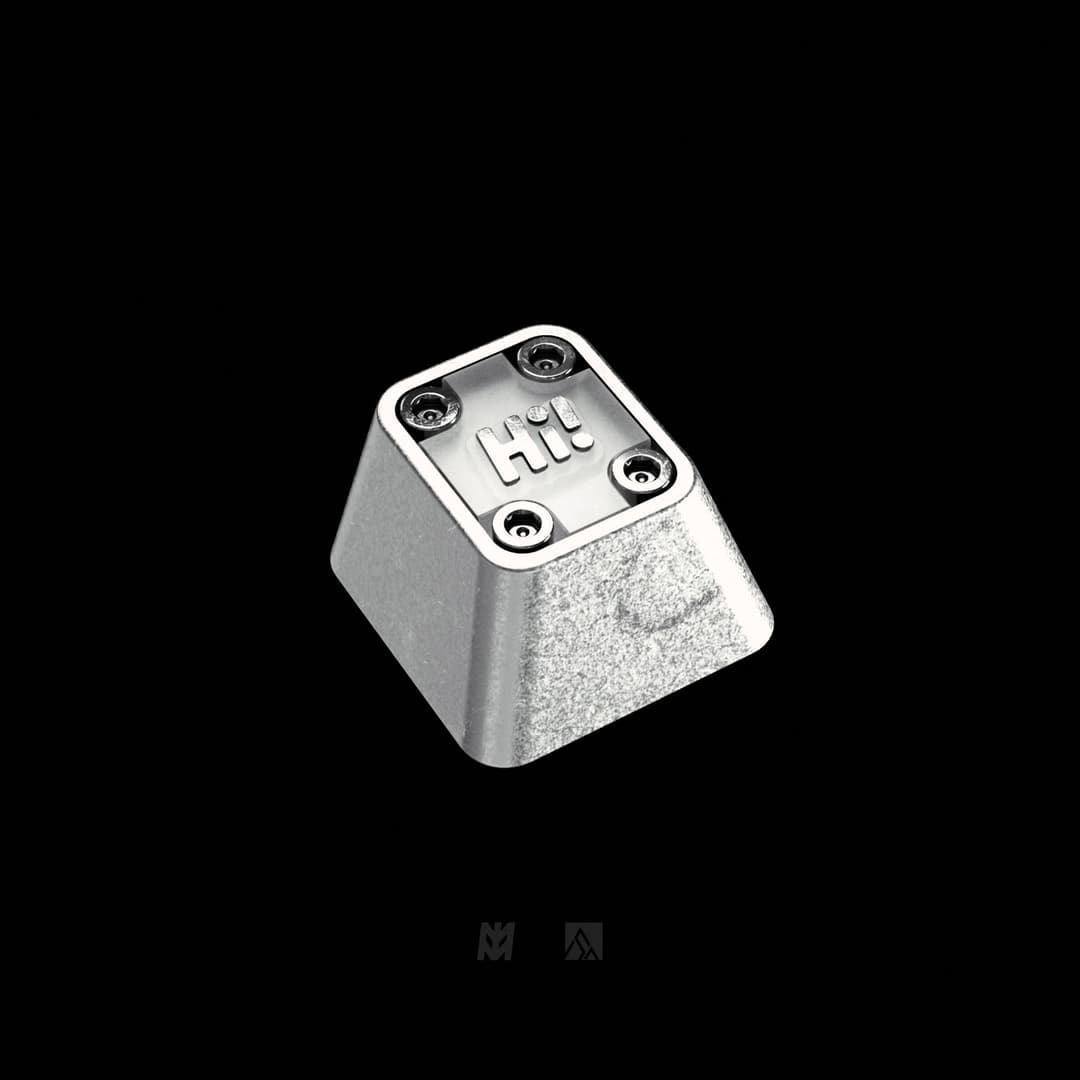
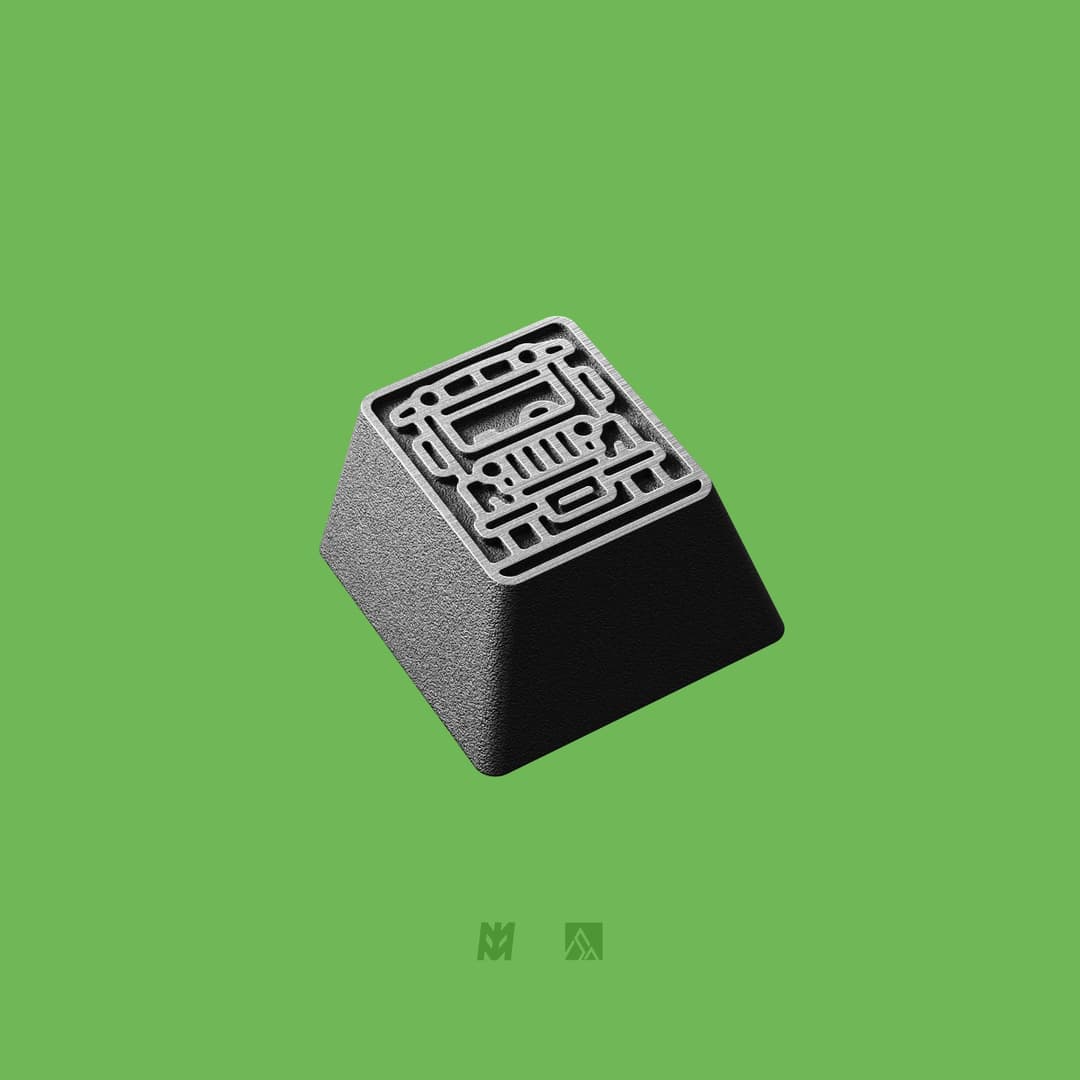
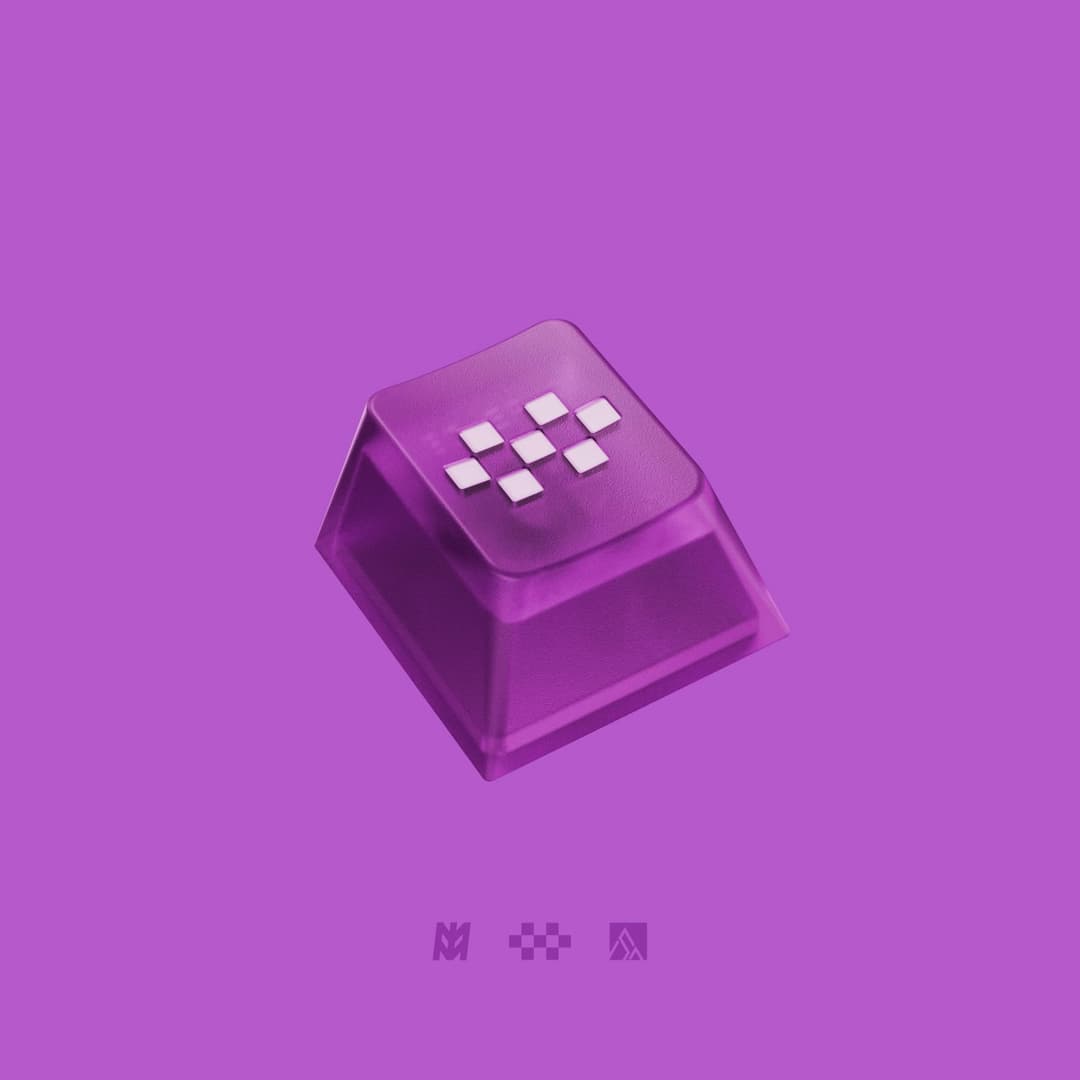
I started working with brand designer @KateApostolou on a deck to anchor the art direction across our campaign assets — and to give Tim enough to riff on before letting him do his thing.
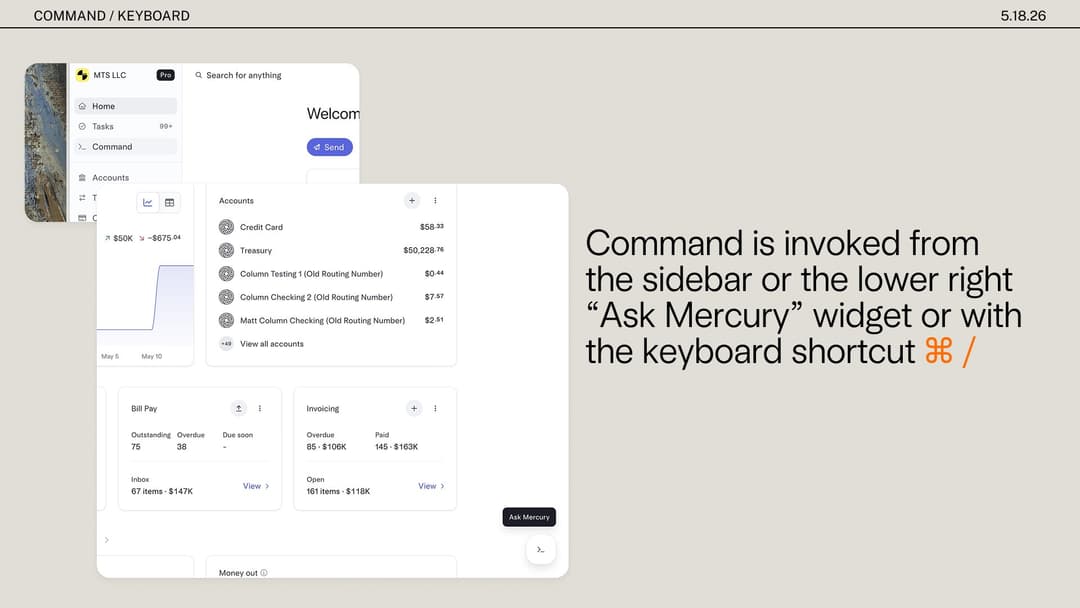
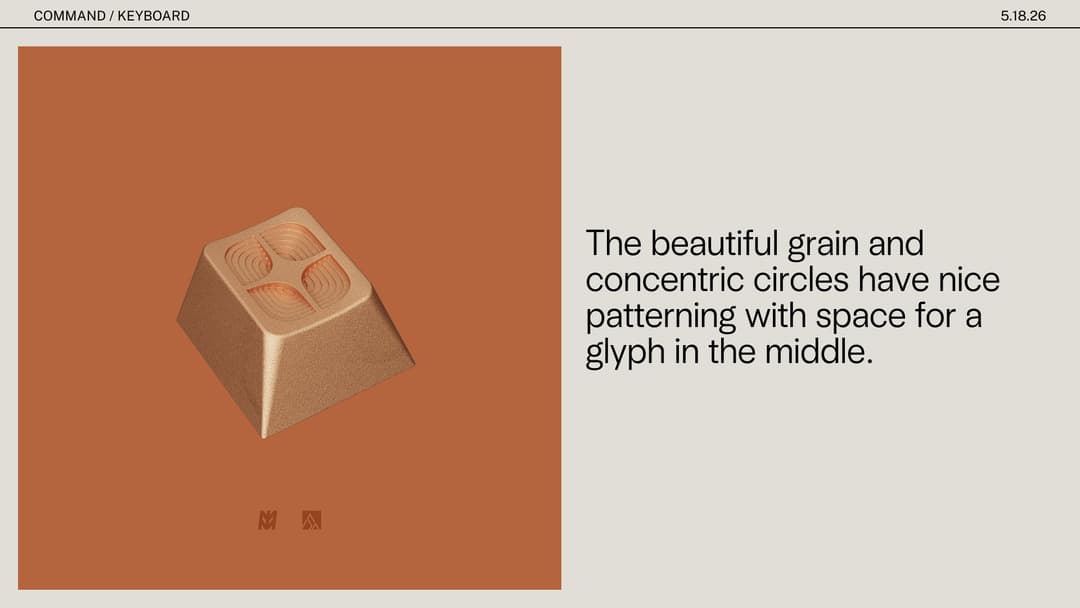
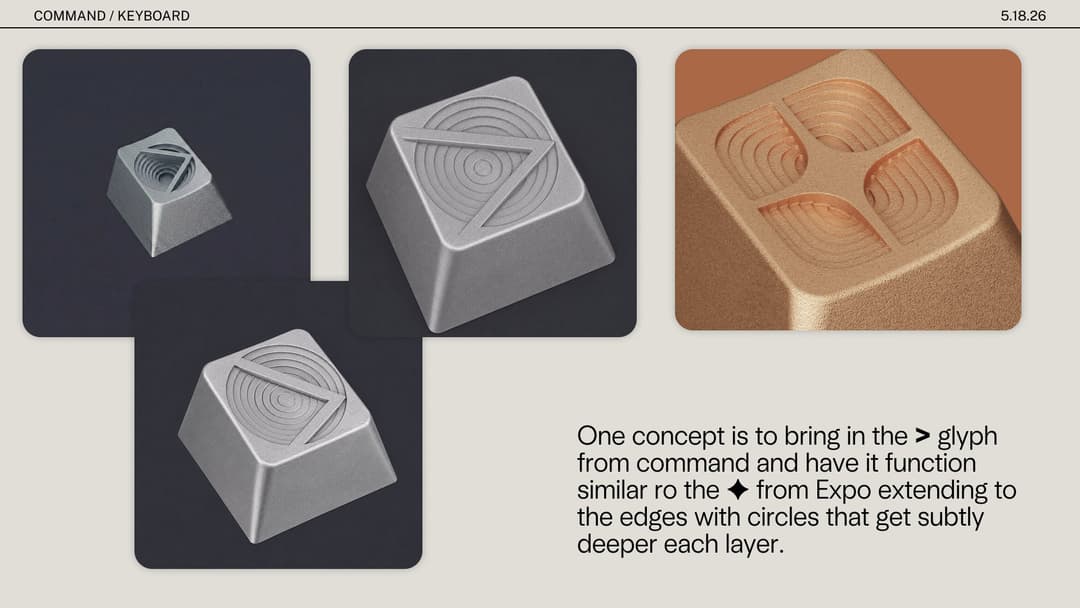
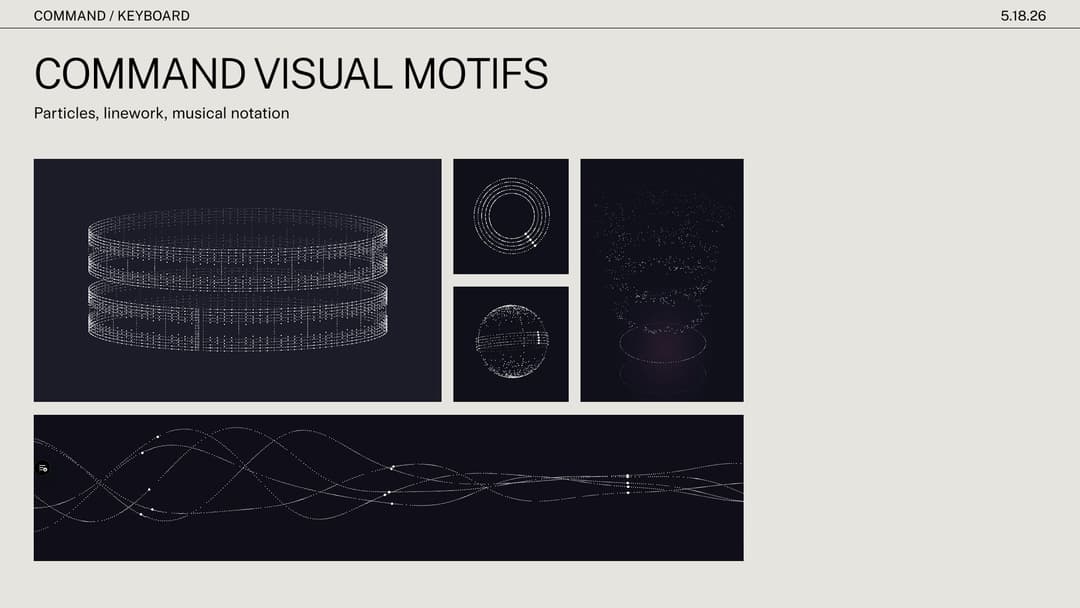
The first half of the deck introduced the Command campaign assets and interface. The second half was looser: LLM image-gen explorations riffing on Command and Tim’s own work, meant as jumping-off points rather than answers.
Iterating on a glyph
After a short kickoff, it was clear Tim already had the spark of something. I sent over our core Command glyph (>_), and he came back with a set of beautiful 3D renders of what the caps could look like.
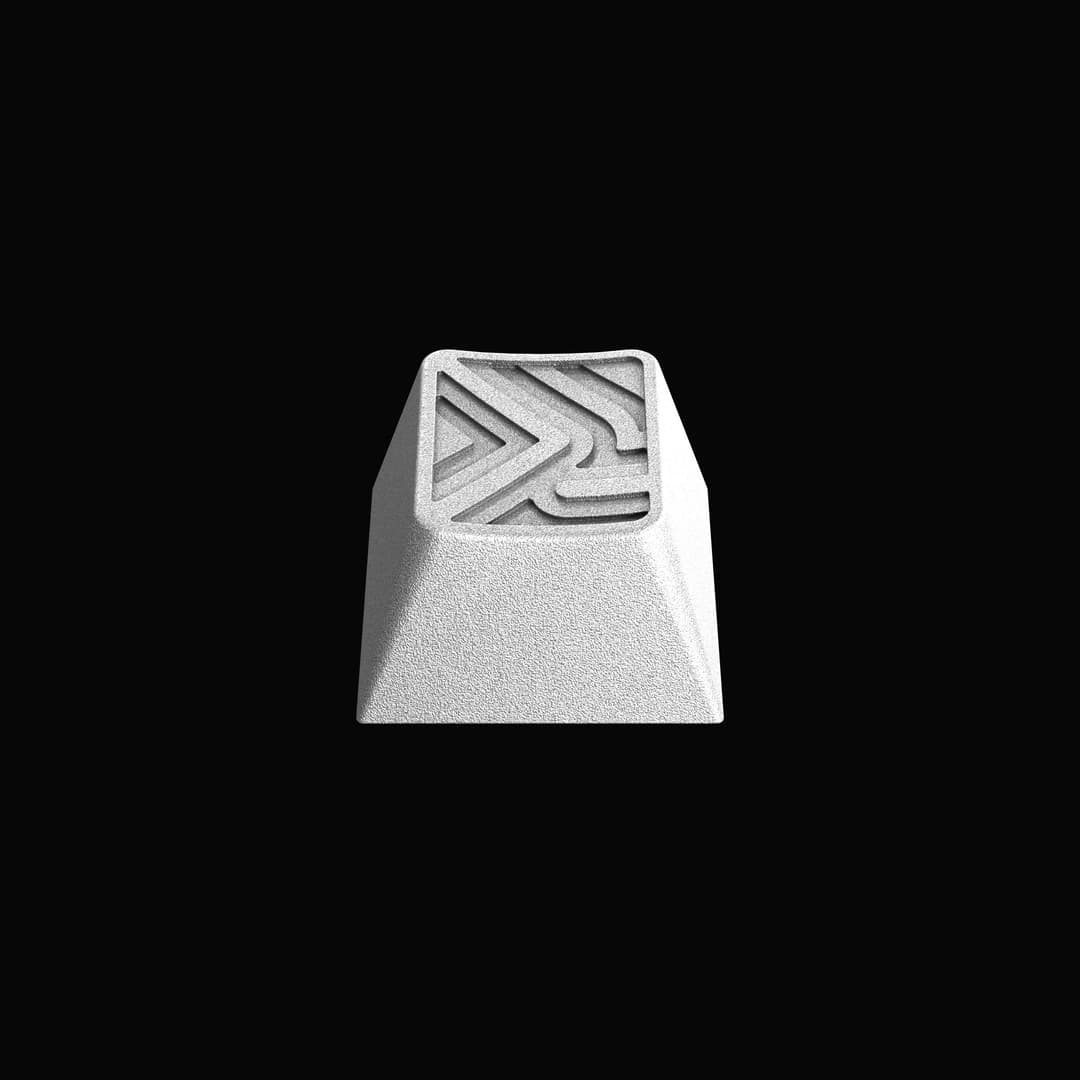
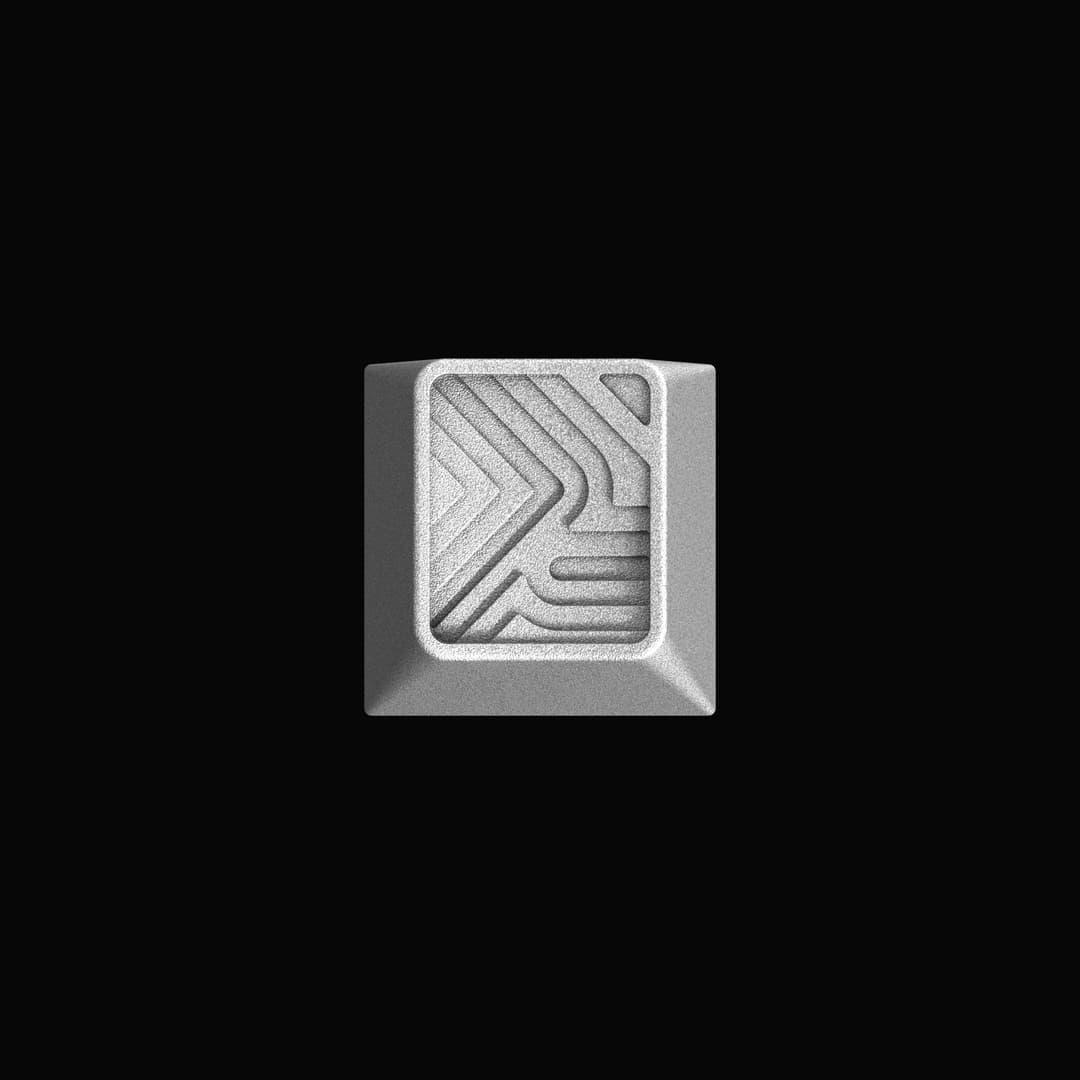
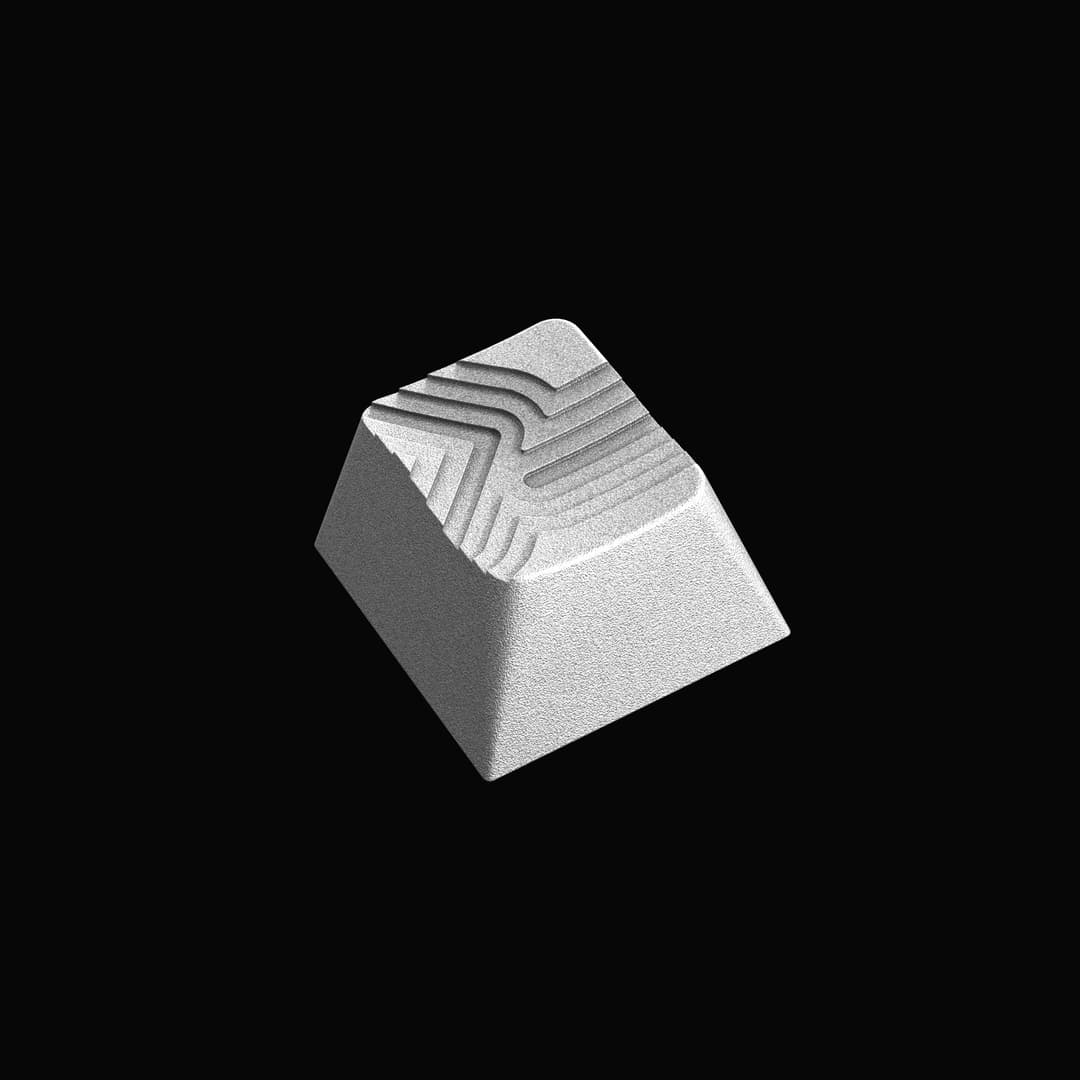
We picked a direction, he delivered the final renders, and from there he set to work on the manufacturing side to bring the keycap to life, while we sourced the macropad.
Crafting the metal
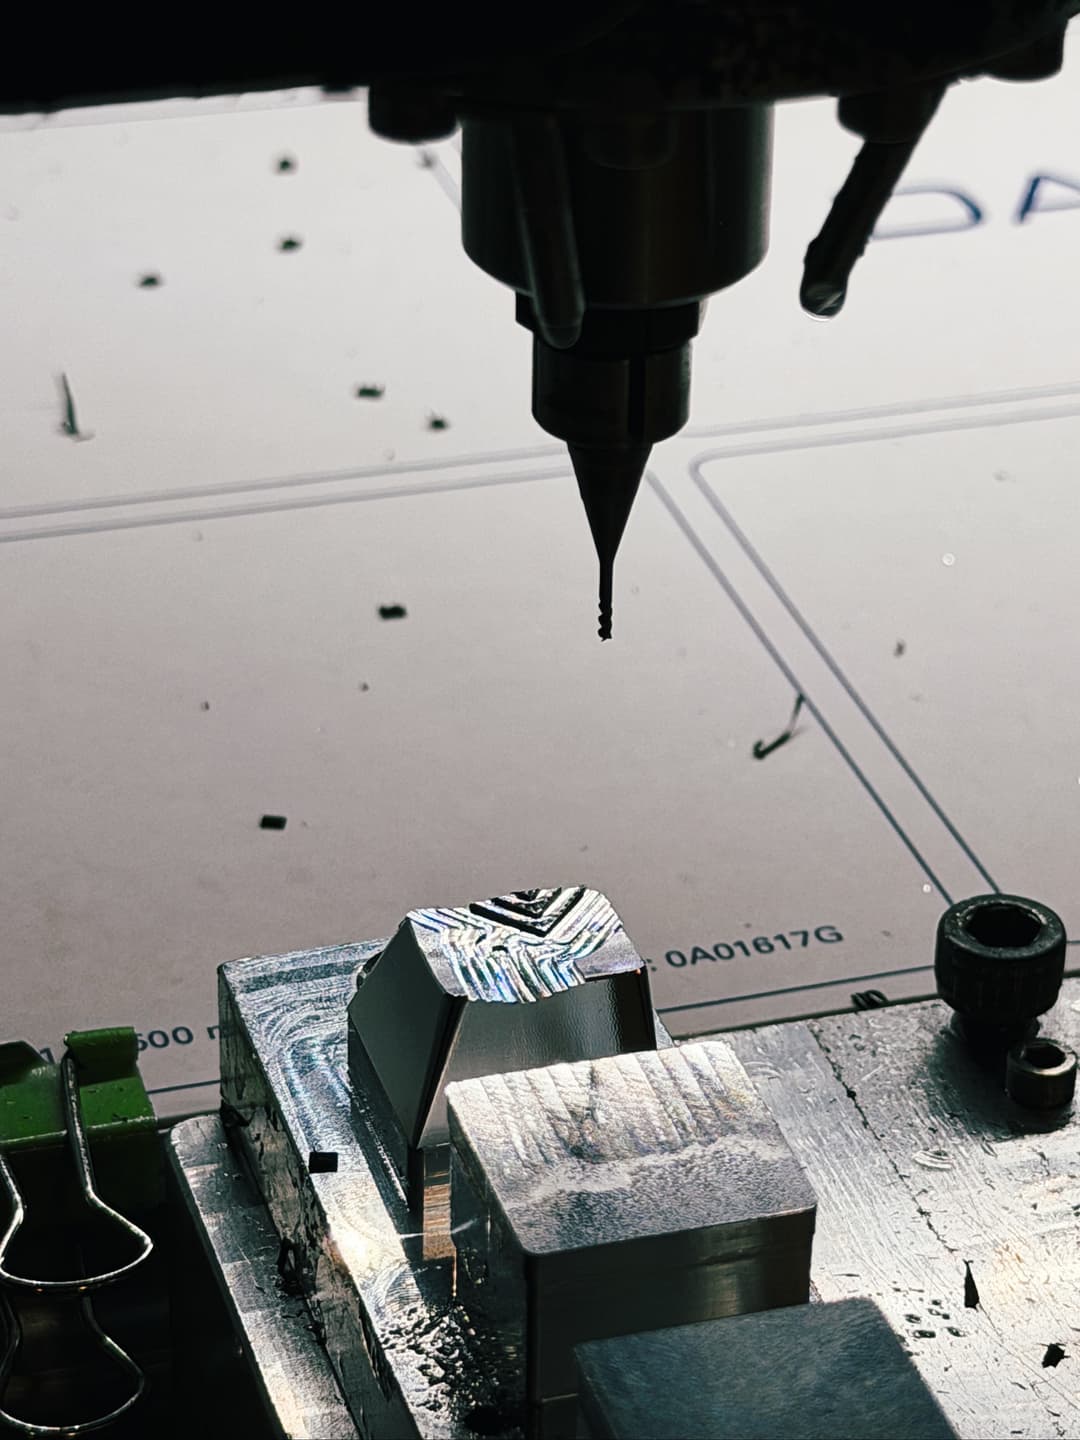
Tim brought in another Belgium-based artisan, Pieter-Jan (aka @salvun), to machine the keycap. Pieter-Jan begins in AutoCAD, translating the design into something that can actually be cut from metal — checking that every edge and groove will survive the move from render to raw material.
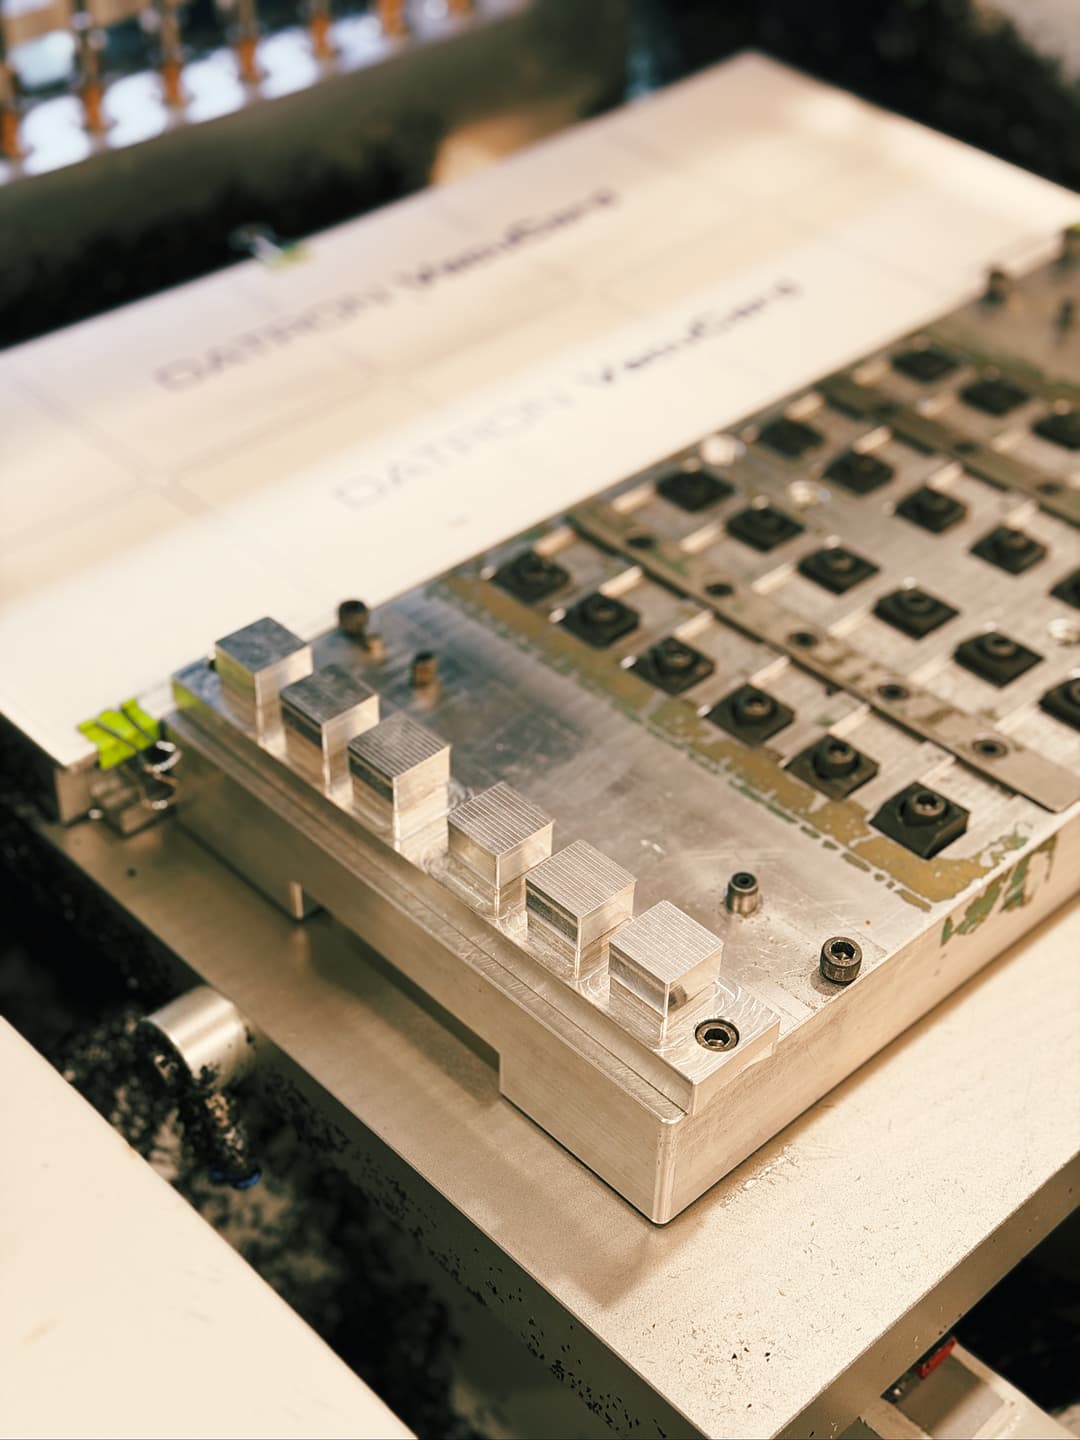
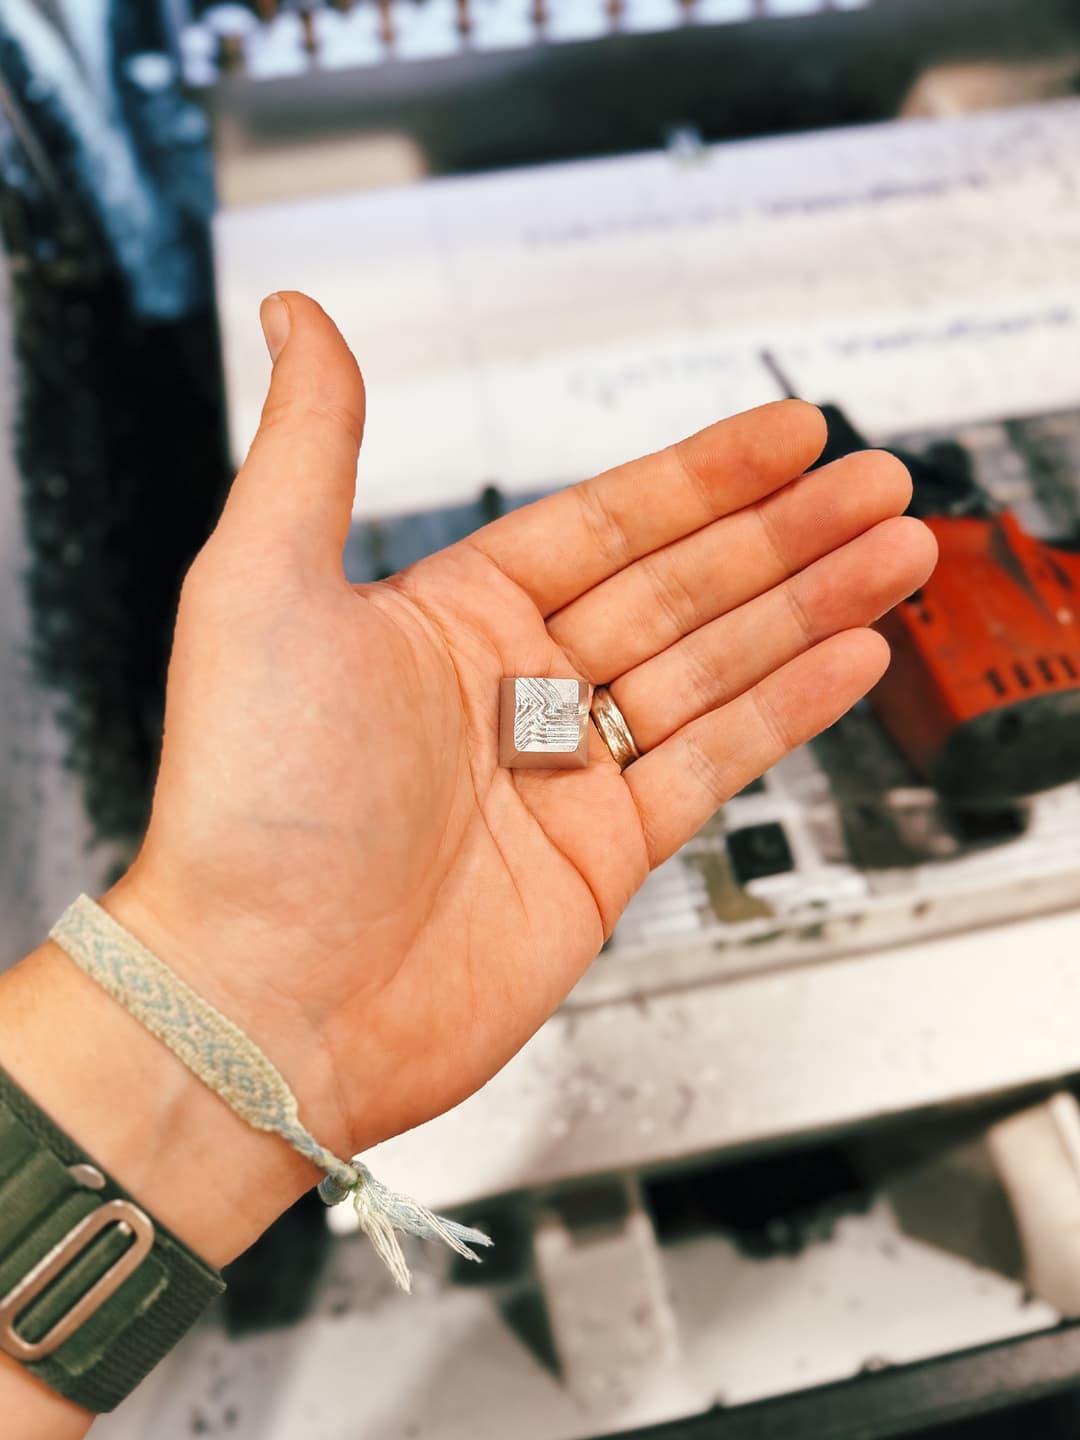
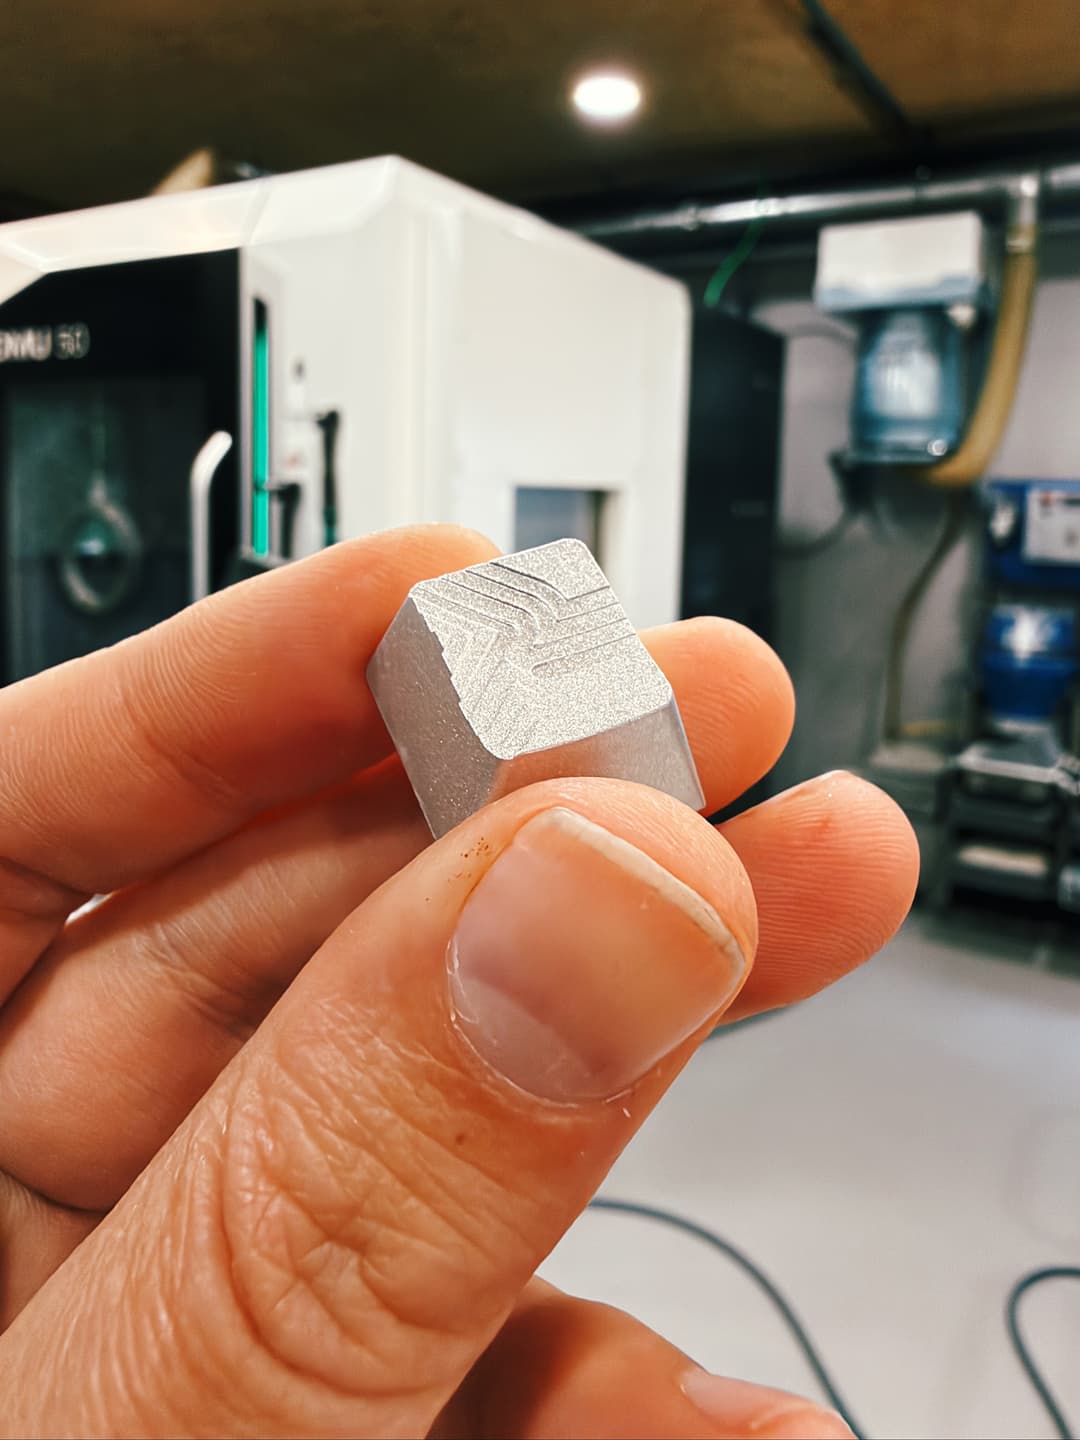
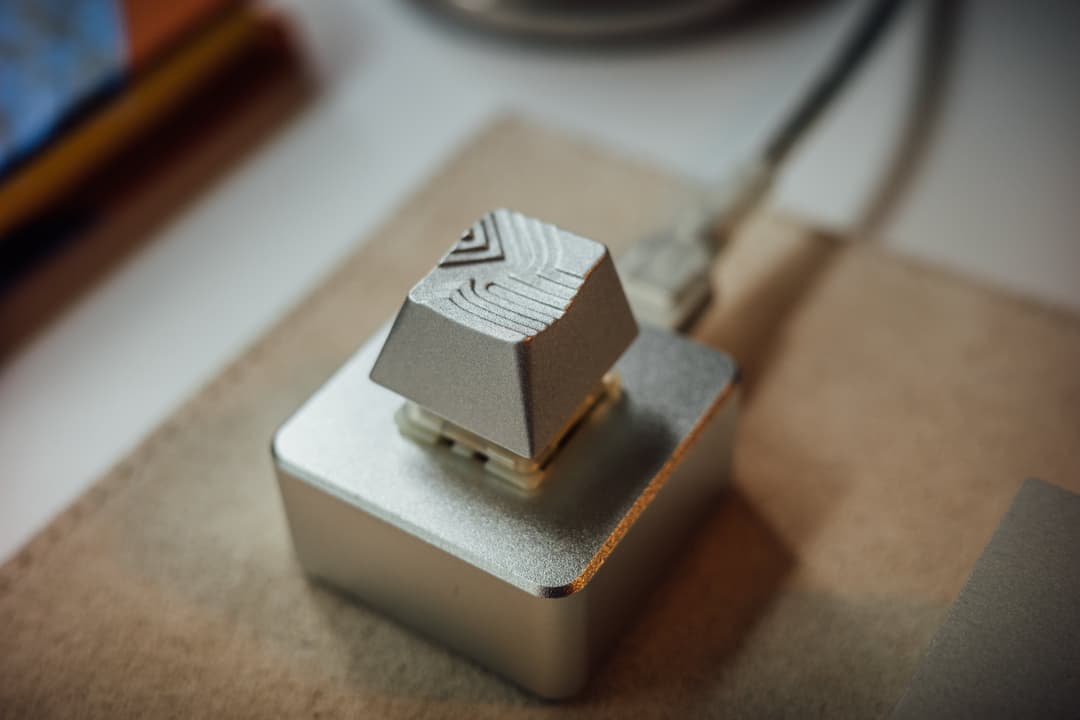
For a keycap this small, he reaches for his smallest CNC machine — which sounds like a compromise but isn’t. The smaller the tool, the finer the detail it can hold, and a keycap is almost nothing but fine detail: the grooves of the glyph, the chamfer of each edge, the faint topography that catches the light.
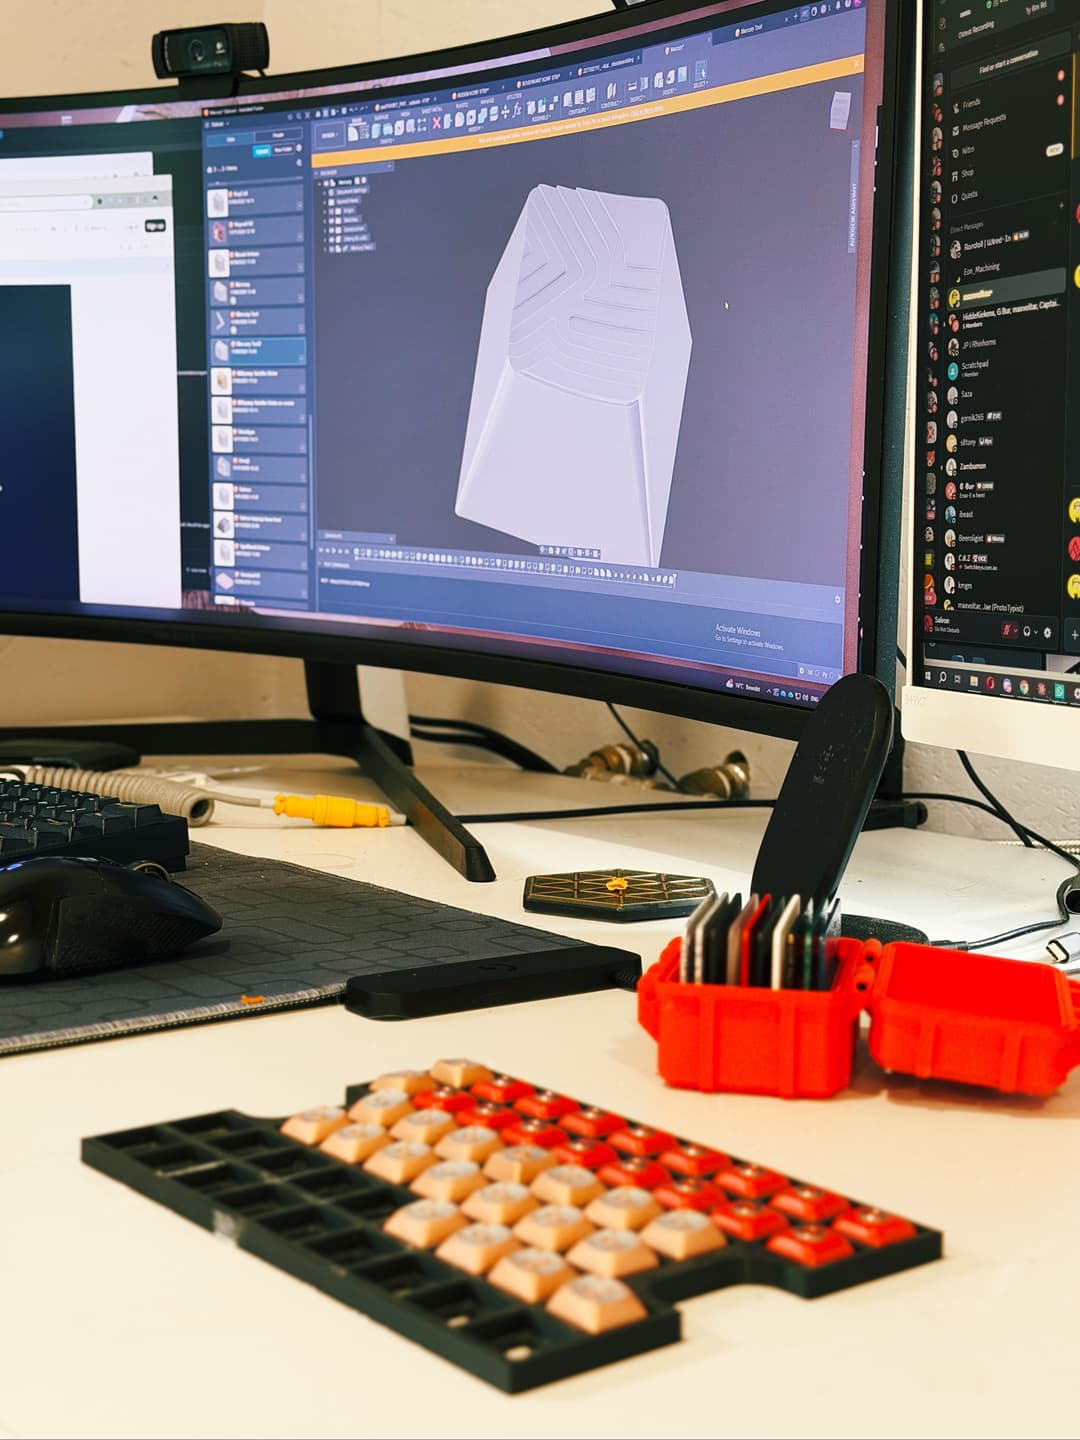
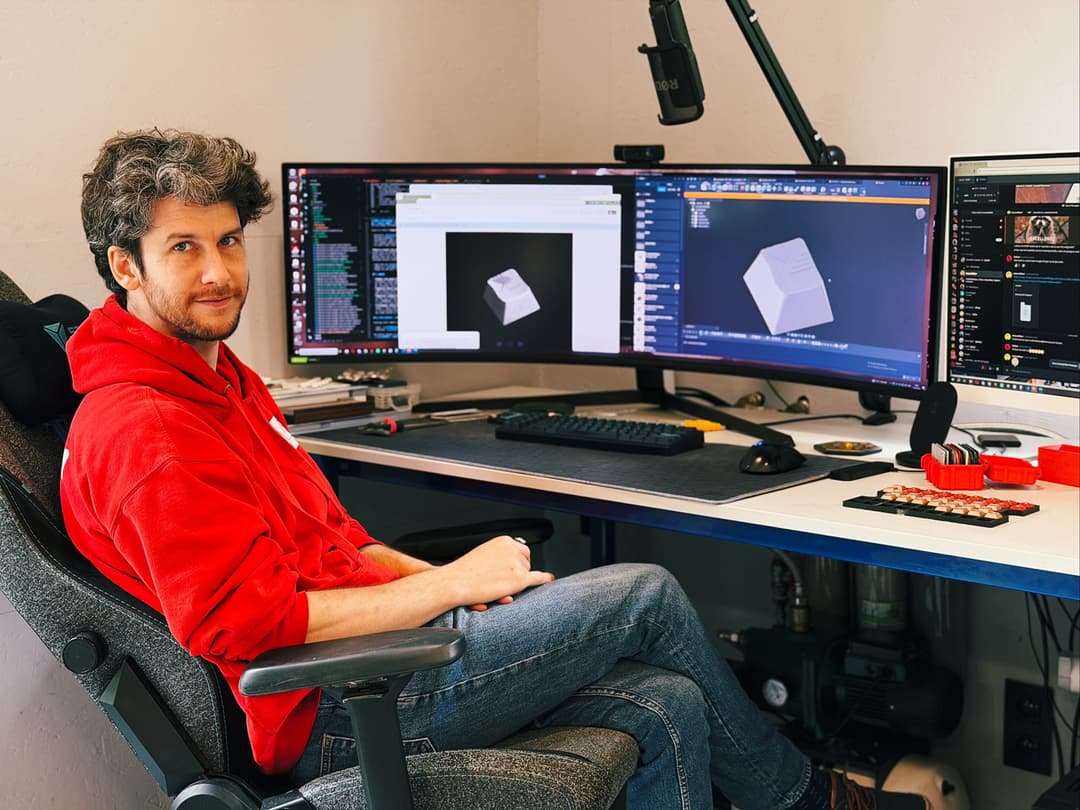
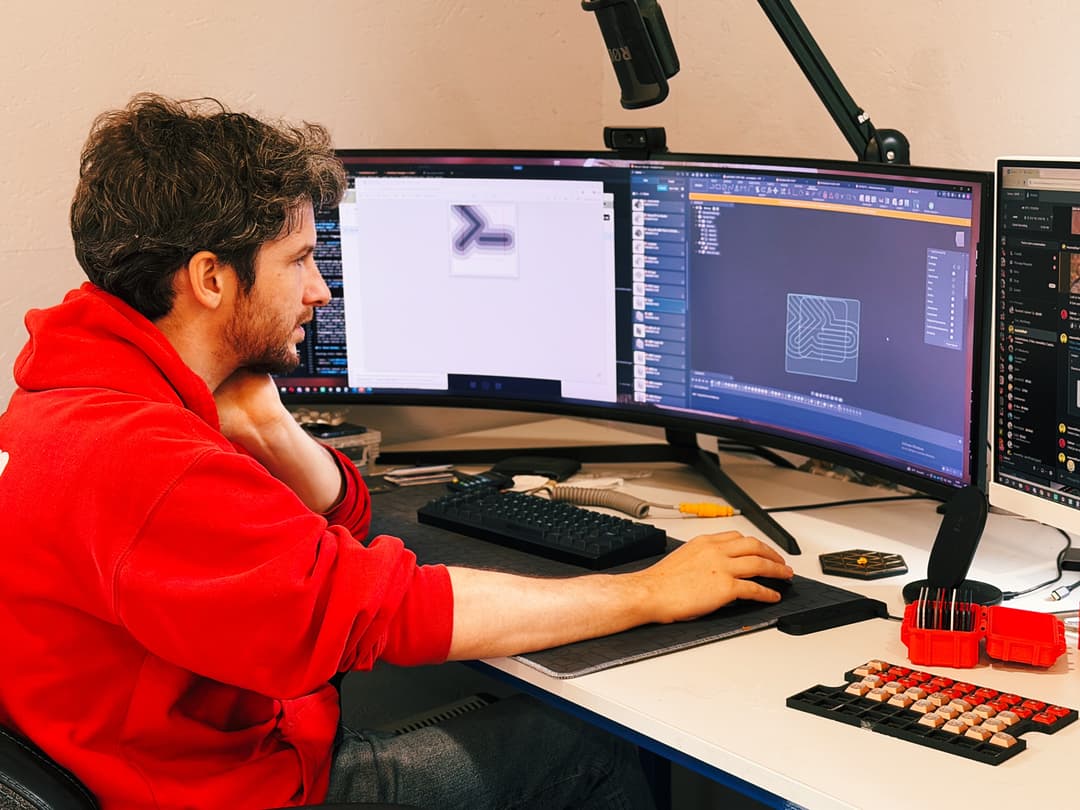
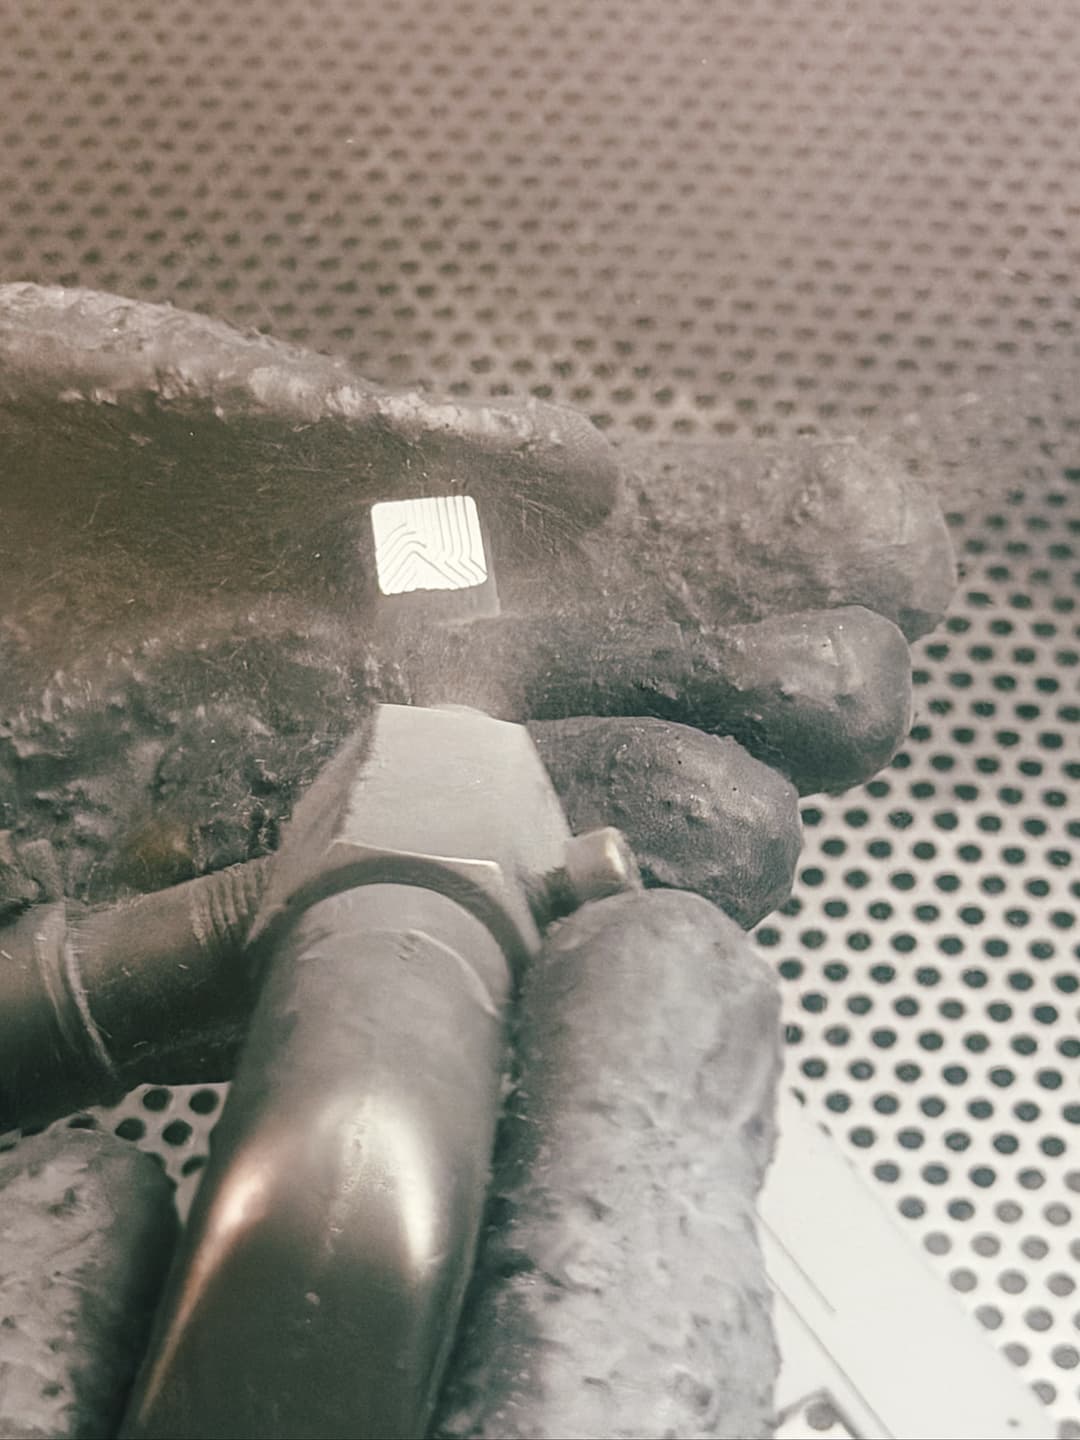
Once the keycap is cut from the raw stock, it gets a quick tumble polish to knock off the sharp edges and even out the microscopic marks the machine leaves behind. Then a final media blast — usually glass or porcelain — to bring up out of the metal a soft, natural finish.
Sourcing the macropad
A machined artisan keycap is enough to make any diehard keyboard enthusiast salivate, but a keycap alone isn’t a product. To make it real, we needed a macropad worthy of the cap sitting on top of it. I went looking on Adafruit and Amazon, ran down a few DIY options, but none of them met the scale or quality we were after.
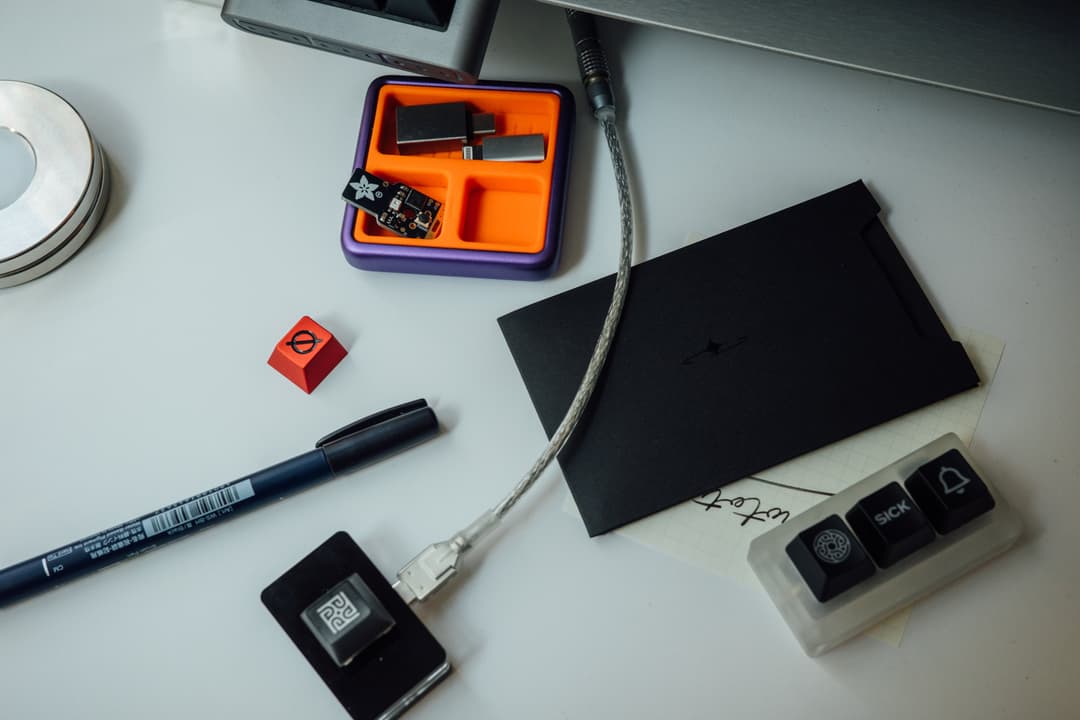
So I turned to X and DMed @benln, Cursor’s head of Community, to ask about their Cursor Tab macropad drop. He put me in touch with Goblintechkeys, who turned around a metal macropad base with mechanical switches — programmed at the factory with our ⌘ + / shortcut — on an absurdly short timeline. They even included a sleeve design that echoes the Command launch graphics.
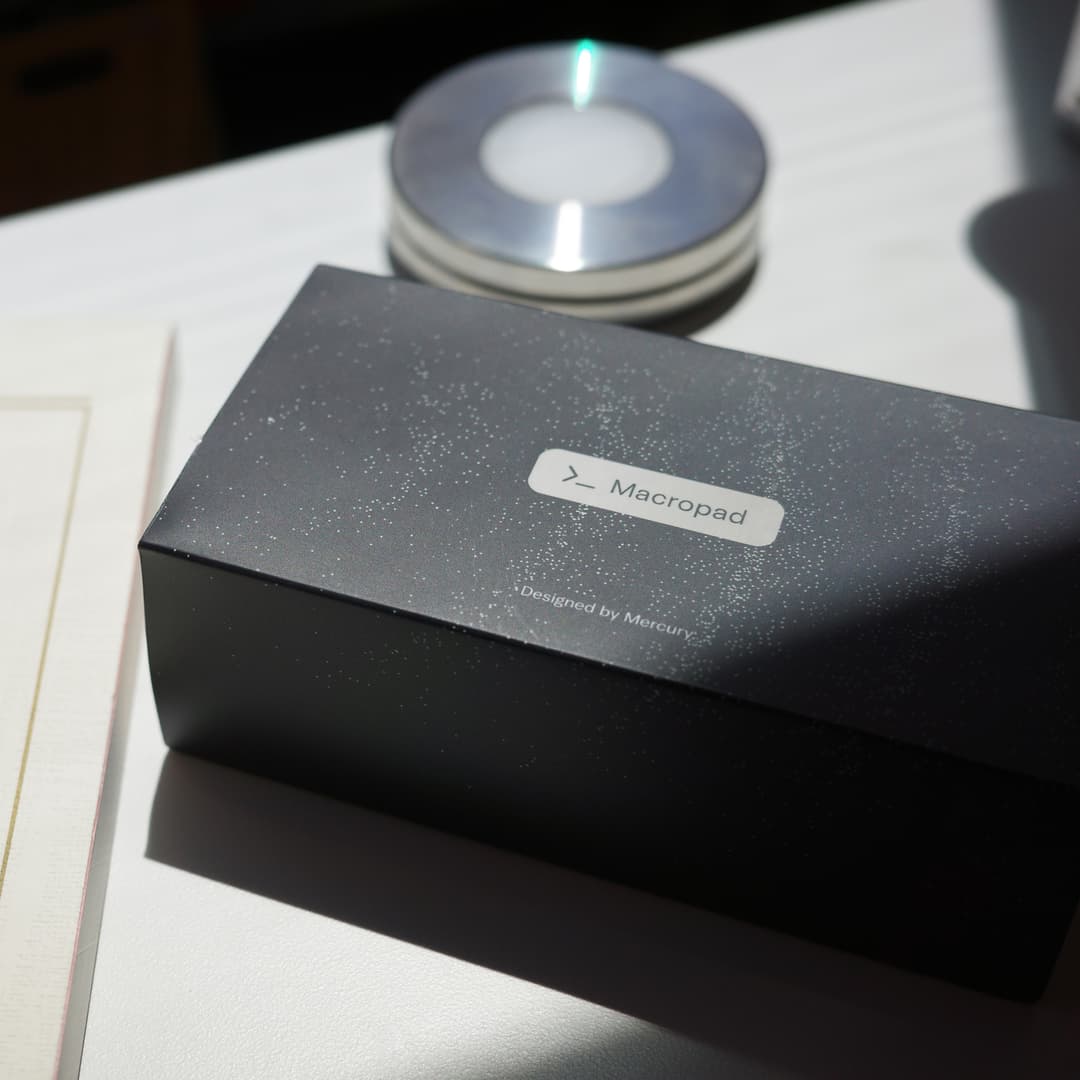
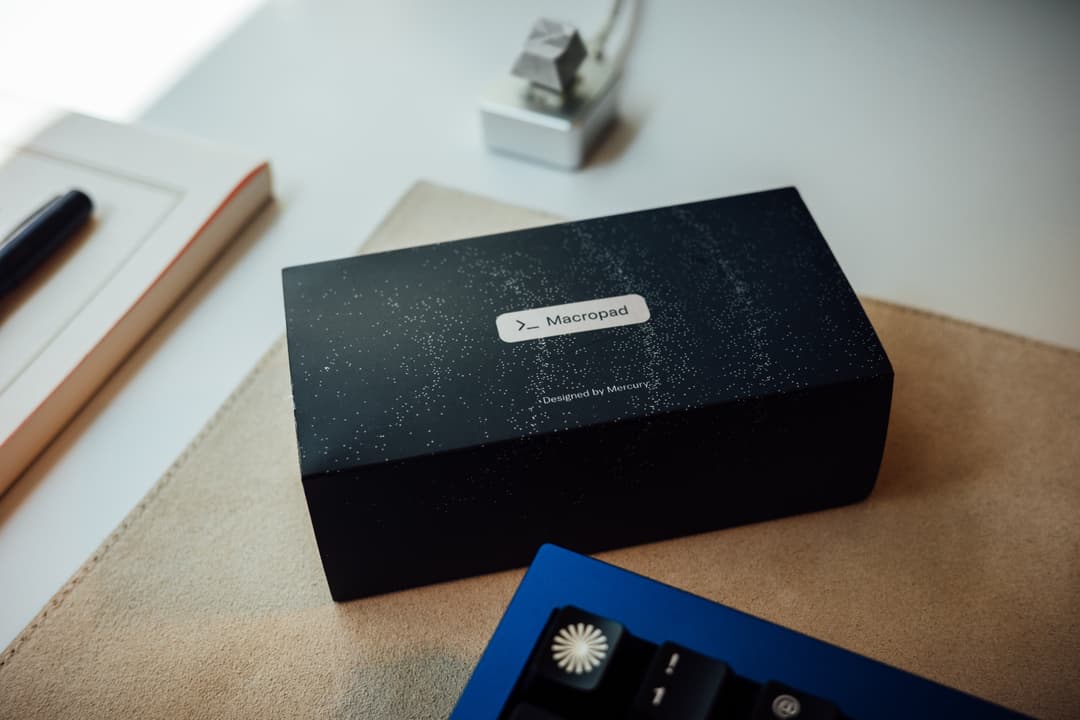
The object
All the pieces come together into a single object — dense, deliberate, built to last. And that durability is the whole point. It’s what we want our financial products to feel like, too: tools built to scale with founders, creators, and artisans, and to go wherever they’re headed.
This article is adapted from my X post Designing the Mercury macropad.